Wildlife photographer Felix Rome continues his blog series with a deep dive into auto focus settings for wildlife photography. Getting into technical detail about the settings themselves, Felix also gives an insight as to how and when to use the various settings described to achieve the best results in your photographs. There are endless ways to set your camera up but here are a few key settings you will want to remember.
Auto focus is often the biggest challenge faced by wildlife photographers. Getting sharp images of movement – such as birds in flight, or the herds of wildebeest moving, can be a challenge. The key is the different types of auto focus settings available, and when to use them.
AF-S (single auto focus)
This setting is best for subjects that are static and not moving. Generally this is not the best setting to have for wildlife as they are always moving, and sometimes unexpectedly. AF-S basically means that you press and lock your focus on the subject. You can then recompose your image and the focus will still be locked onto the subject. However, if the subject moves, it will not be tracking the movement and the subject will be out of focus.
For example – you are photographing a lion that is walking towards you. If you had AF-S, when you focus on the lion it will lock focus on that exact position, meaning as soon as the lion takes a step forward, it will no longer be in focus. Generally you use AF-S for static subjects such as landscapes
AF-C (continuous auto focus).
The most popular auto focus setting for wildlife photographers and the one almost all wildlife photographers will use. AF-C allows the camera to continuously focus on the subject. Each time the subject moves, the camera is refocusing to adjust for the movement. For birds in flight this is key, as they fly through the frame, either coming towards you or across you. Having AF-C on will allow the camera to track the subject, keeping it in focus all the time. Even if the subject is lying down, keep the camera in this setting as you never know what wildlife will do, and will allow you to be ready for anything.
Different focus types
Modern mirrorless cameras have a huge range of auto focus types, from animal tracking, 3D tracking, grid, single point and many more. Here are a few examples of when these setting will be useful out in the field.
Single point auto focus
This is a great way to lock in a composition. You can move the focus point to wherever you want, and as long as the subject is within the small box, it will be in focus. By using single point you can help frame your image, however, it can be a bit slow to move the focus point from one side of the frame to the other.
If the subject changes direction, and you want to re-compose, you can always hold down the AF lock button. This means you can focus on the subject, lock that focus and put the subject on the opposite side of the frame, without moving the focus point. This is great for moments when the subject looks the other way, but ideally you will want to always have your subject within the focus point.
Animal eye tracking.
This is a new development for modern mirrorless cameras and it is brilliant, at times. It is a fantastic option if you are holding you camera low down, as the camera will track the animals eyes and you don’t have to worry about moving a focus point around. This setting works best when there are few distractions around. If you have bushes or long grass that the subject is hiding in, you might find the camera focuses on that, rather than the subject. Therefore, this setting is best when the subject is clearly defined within the frame.
This can be great for birds in flight, but as soon as the bird flies in front of trees or bushes, it might lock onto the background instead of the bird. If this happens, use manual focus to get the bird close to in focus and try activating the auto focus again. Sometimes they just loose sight of the subject for a moment, and pulling the focus closer to the subject helps the camera find and lock onto the subject again.
Grid Focus.
This is helpful for focusing on larger subjects that don’t have much depth to them. By using nine small boxes in a grid you are limiting yourself to where you tell the camera to focus. Generally with wildlife you always want to focus on their eyes, but by using a grid, the area you are telling the camera to focus is much bigger, meaning you might not get the focus exactly on their eyes. This setting is helpful for family photos, landscapes and general images, but not ideal for wildlife.
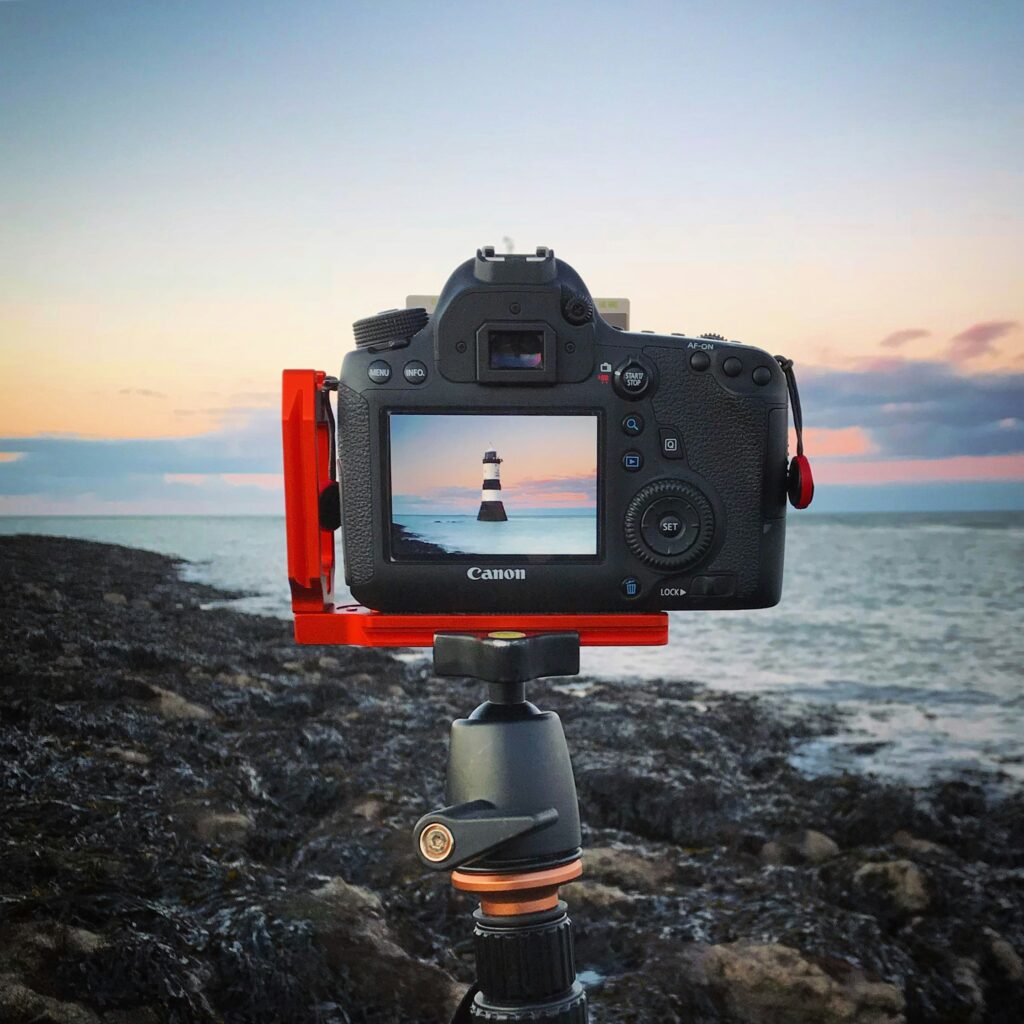
Back button auto focus.
DSLR’s and mirrorless cameras have a button on the back called AF-ON. Within the settings of your camera you can program this button to activate the auto focus. This is a game changer. You will want to disable the auto focus activation on the shutter button, meaning only the back button will work. This is great as you can focus on the subject, let go of the back button and recompose without the shutter button activating the auto focus again. This helps recompose images quickly, along with allowing you to take images without touching the auto focus.
For example, there is a bird hidden in a bush. You have been able to get the focus on it by using manual focus. You can take images of the bird without activating the auto focus, but as soon as it flies off, you hold down the back button and track the bird in flight using auto focus. This save so much time and reduces missed opportunities by going back and forth from manual to auto focus.
Hopefully this article has cleared up the best types of auto focus to use when photographing wildlife. The key thing to consider is having the camera set to AF-C. This is going to help you get sharp images of subjects that are moving, which is what wildlife does most of the time.
Join Felix on a photographic safari in Botswana in January 2025. Combining two different safari areas, and with Felix accompanying you to offer tuition throughout the trip, you will come away with some wonderful images and additional knowledge about your camera and its settings. For more information and the full itinerary please click here.